How to Extract Audio from a YouTube Video
YouTube is the most used platform for music streaming globally — learn how to extract audio from any video

Whether you’re repurposing a tutorial, saving a favorite song, or pulling audio to remix in a new format, there are plenty of reasons to extract audio from a YouTube video. The good news? It’s easier than ever — and you don’t need any special software to do it.
In this article, we’ll walk you through how to extract audio from a YouTube video on any device, so you can reuse it, remix it, or save it for later.
How to Extract Audio from a YouTube Video
1. Import YouTube Video
The simplest way to extract audio from a YouTube video is to use an Online Video Editor, which bypasses the need for additional downloads or software.
First, copy the link from the top of the YouTube video’s webpage.

If you're using YouTube in a mobile browser, tap the share icon and select Copy link from the sharing options.

Once copied, open the Kapwing editor.
You’ll be greeted with a media upload interface. Paste the YouTube link into the URL box as shown in the image below.

The editor will automatically start importing your video. Depending on the video’s length, this may take a few moments to complete.
If the import doesn’t start or you receive an error message, double-check that the video is publicly available. Age restrictions, content filters, or private settings on YouTube can sometimes block the video from loading in the editor.
Once the import finishes, your project will automatically be named after the YouTube video's title. The full video, including audio, will appear in the timeline as a single track.
2. Extract Audio
To extract the audio, you’ll need to split this into two separate tracks: one for video and one for audio. On desktop, right-click on the track and select Detach Audio.

On mobile, long-press the track to access the same option. After detaching, your project will show two tracks in the timeline.

At this point, you’ve successfully extracted the audio from your YouTube video. If you right-click on the video track and select "delete", it will remove your video layer and leave you with the audio only.

3. Edit and Export
To convert it to a standalone file, like an MP3, click the Export Project button in the top-left corner.
Then select MP3 from the export options. The result will be an audio-only file of your extracted YouTube audio — no need to delete any video tracks.

Tools to Use After Extracting YouTube Audio
Once you've extracted audio from a YouTube video, there are several ways to take your content further using Kapwing’s built-in tools. Whether you're polishing the audio, adding visuals, or preparing content for another platform, these tools make the editing process faster and more flexible.
Below are a few key tools that pair especially well with extracted audio:
Split Vocals
Accessible from the right-hand tools menu, the Split Vocals tool is helpful for a variety of projects.

Most notably, it’s the easiest way to isolate vocals or instrumentals, perfect for creating karaoke videos from a song’s audio file.
For songs only available on YouTube, pairing this tool with the extraction method above lets you create and share top-performing karaoke videos, even for niche artists or rare tracks.
Note: Make sure you’ve selected the audio track in your project timeline to access the Split Vocals tool. If you’ve project has both a video and an audio layer, selecting the video layer won’t work.
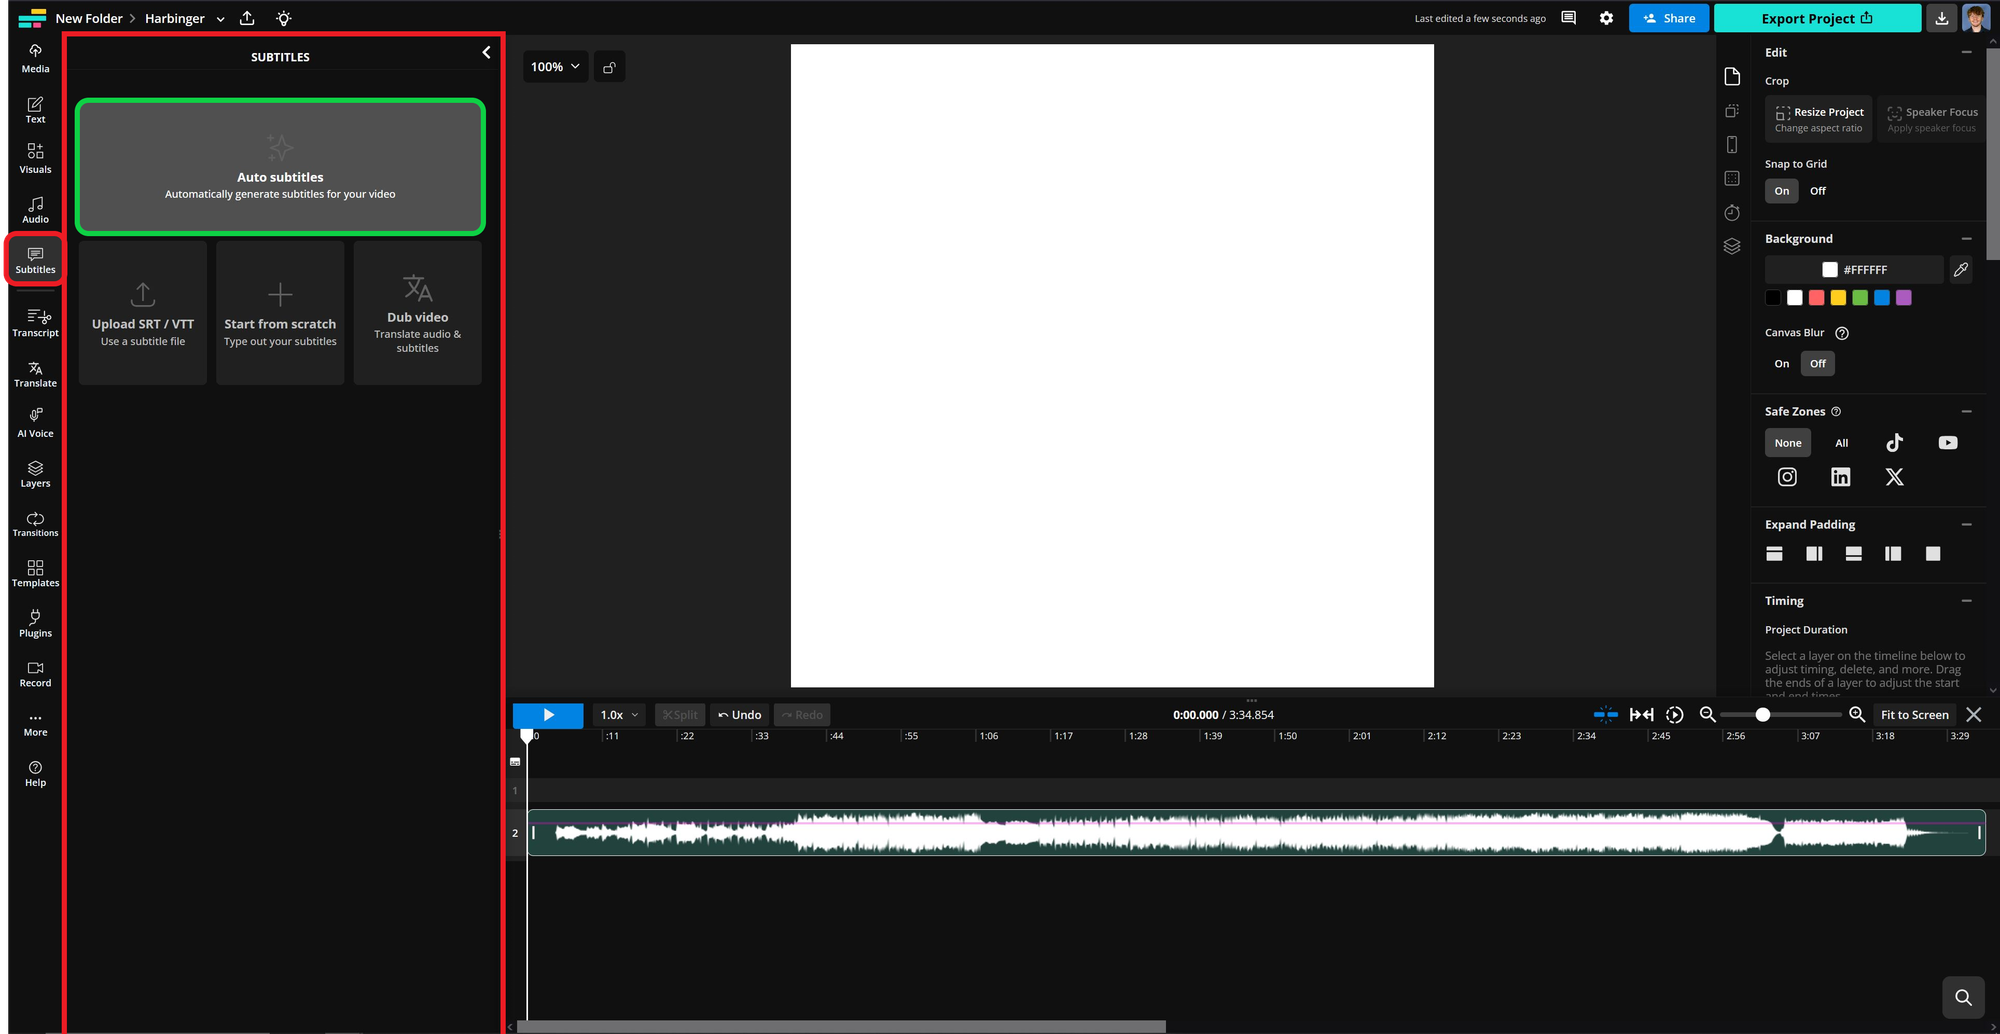
Automatic Subtitles
Whether you're adding subtitles for accessibility or to boost viewer retention, automatic captions can be added to bring podcast snippets, raw audio, interviews, voiceovers, or webinars to life.
To get started, open the Subtitles menu in the left-hand sidebar and select Auto Subtitles. Kapwing will automatically transcribe your extracted audio.
For audio extracted from YouTube, especially songs, audio quality can sometimes be muddled. After the subtitles are generated, take a moment to review and edit them to make sure everything matches the spoken or sung words.
Once your edits are complete, use the styling tools on the right-hand side to customize your captions. You can choose from preset styles or fine-tune the look with custom fonts, colors, and background effects.
Video edited on Kapwing
Audio Waveforms
Lastly, audio waveforms are an easy way to add a professional touch to any video by giving viewers a visual cue of the sound.
To add one, open the Visuals tab in the left-hand sidebar. Under the Elements section, you’ll find two waveform styles to choose from. Select either to add it to your project.

Once the waveform is added, customize its appearance using the settings on the right-hand side. You can adjust size, color, animation style, and more to match your video’s tone.


